Maximum waterproofing
Maximum comfort
Maximum cleaning
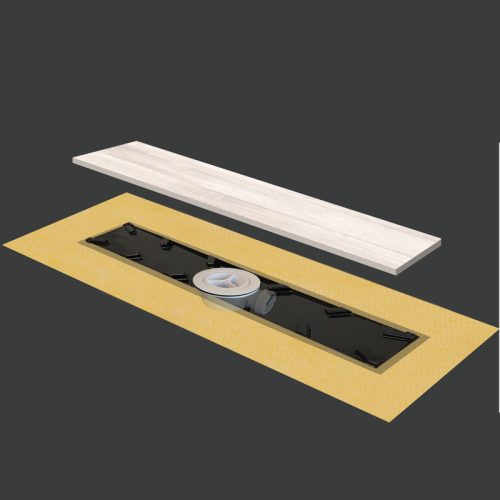
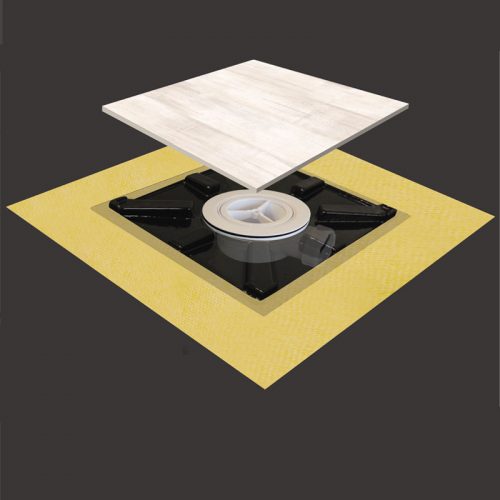
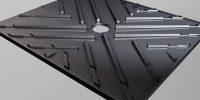
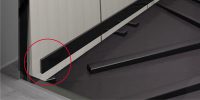
Maximum designThe covert shower surface is hidden under the chosen flooring.
The end result is a completely flat shower floor
At the same height as the rest of the bathroom. Gradients
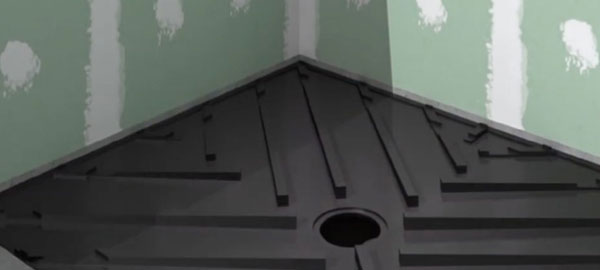
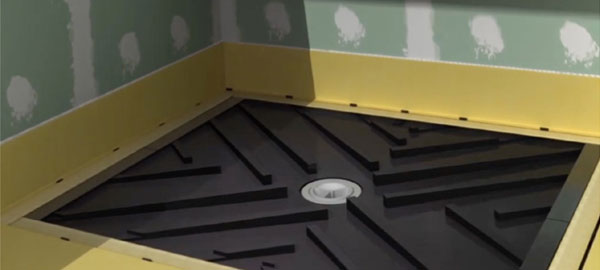
Hidden under the floor, where the points are located
That direct the water to the drain. It includes a drainage deck
Horizontally located in the center of the braces and can be rotated 360 °
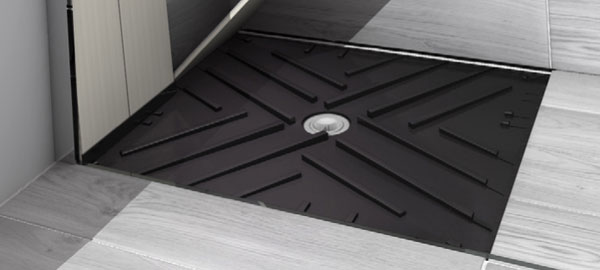
An innovative, multi-purpose and efficient integrated system that fits any style.
Description
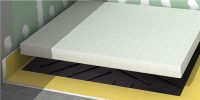
Complete kit for 100% waterproof flat shower surface, suitable
For covering the entire shower with the same floor without gradients or stairs, with water drainage
That goes through the paving connections.
Multipurpose: Allows installation of several types of ceramic, longitudinal or lateral (according to
Necessary.) Porcelain coating is preferable.
Cleaning: Self-cleaning surface with antibacterial coating. In addition, there is no
Connections, which prevents the accumulation of dirt between them.
Maintenance: The system allows for simple floor elevation and access
To the shower floor and deck. The manufacturer’s instructions for cleaning the tiles should be followed.
Noise Insulation: The perimeter seal insulates the shower floor from the connections
And diminishes the noise.
Advantages:
- undercover
- waterproof
- Completely flat
- Self-cleaning and antibacterial surface
- Noise-reducing material
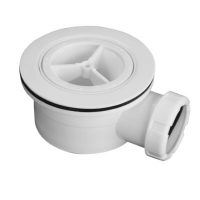
* Direct connection adapter included
| SKU | Measurements | Reference |
| TB-11804 | PLATO 80X80 level | 80X80 ס”מ |
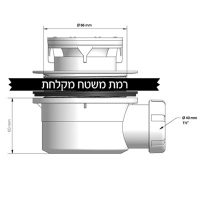
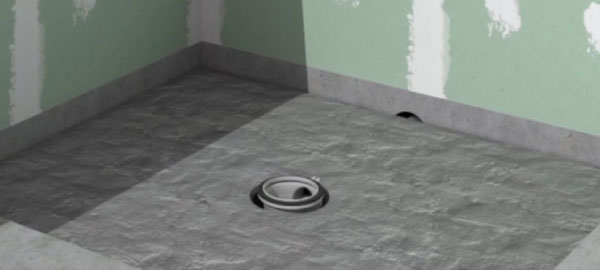
Drainage by deck
 |
 |

 |
1. Drain surface
Height: 26 mm |
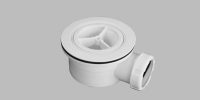 |
2. Deck Deck by drain (can be converted to direct connection) Rotate 360 °. Drainage installation height: 60 mm Output: Horizontal 50Ø Flow rate: 0.5 liters per second S / UNE-EN274 Hair catcher and odor filter Composition: Polyurethane |
 |
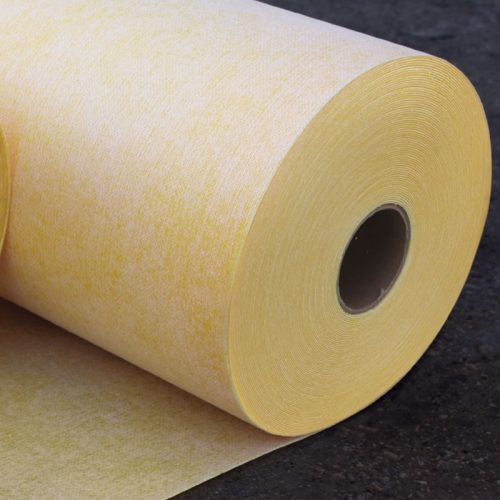
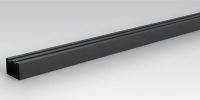
3. Perimeter strap
5X0.13 m / L DRY50 connection strip for water treatment and sealing |
 |
4. Part cutting for walls
PVC in a compact 14×14 mm finish. For placement in the raised part of the floor |
 |
5. Tile profile
PVC profile for attaching the tiles to the shower floor. They prevent traffic from |
 |
6. Protector in installation
Part of low density EPS protection to prevent damage to the shower surface |
Installation guide
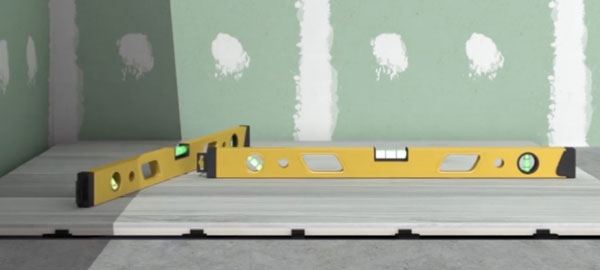
Base position
1. After checking the shower tiles and thicknesses, the shower surface can be attached or separated from the wall. The most important thing is to take the base where the tiles or wall cut are placed *. (Included) located behind the base stops.
The surface encounter with the floor
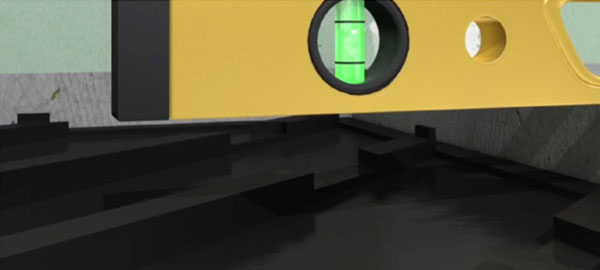
2. The flat portion of the border based on the shower surface should be fully adjacent to the support.
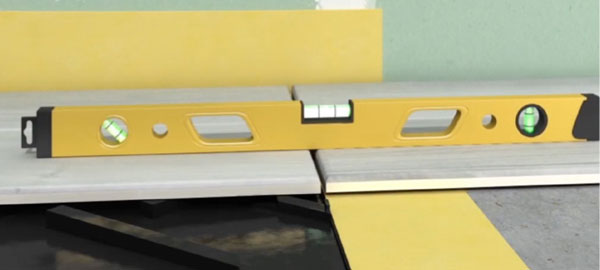
3. The tile in the shower surface should be adjacent to the rest of the tile in the bathroom. To do this, remove the steps with the pre-adjusted trigger on the straight shower surface.
Location of the drainage opening
4. The exact location of the drain opening is determined by the marking of point # 1.
Surface adjustment
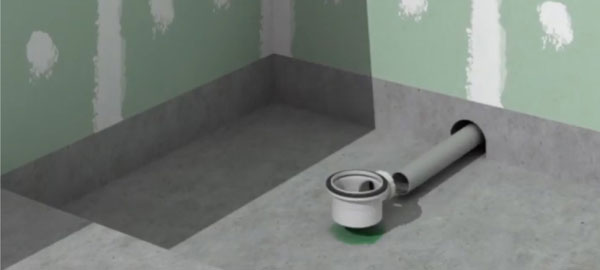
5. Connecting the drain. The piping should have a gradient equal to or greater than 2%. Check that the water is well drained.
6. Note the height levels at point 3, lay the cement base. Remember to leave enough space to fit the drain to the surface.
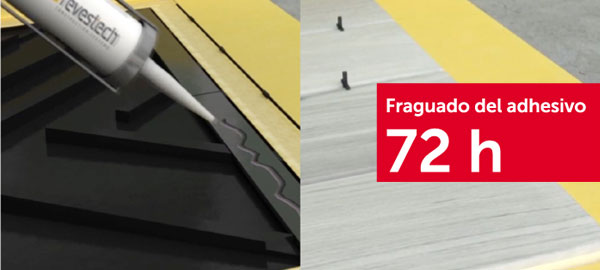
7. Once the cement has stabilized, glue the cement-based cement C2 over it and the back of the shower surface (double connection). install.
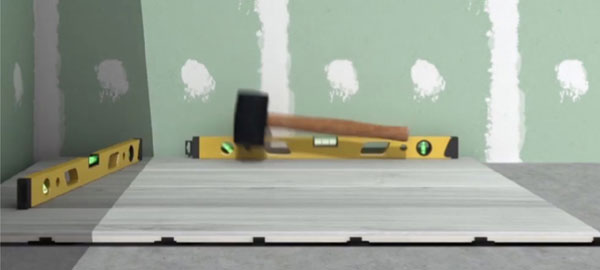
8. The tiles that need to be fully supported and placed on the sides of the surface itself.
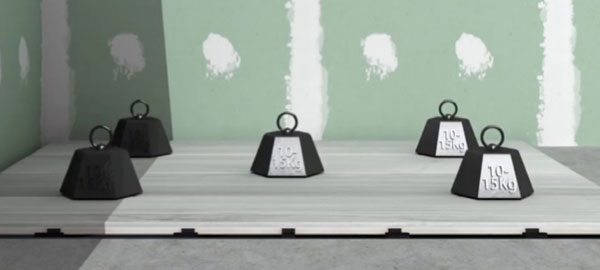
9. Place weight on the straight surface and distribute the loads evenly. Important advice: The weight should always be placed on the previously installed ceramic, and never directly on the surface itself. It should be checked again that everything is straight. Wait until the glue dries completely before removing the weights.
10. Once the concrete-based adhesive has completely dried, check that all heights are correct.
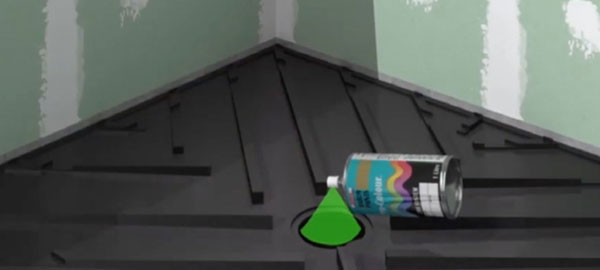
11. In order to avoid staining the surface, a thick scanner tape should be placed around the borders, from the surface of the surface to the center. The DRY50 BANDA strip should be pasted on the four borders of the surface with a revestech fl ex adhesive.
DRY50BANDA should be glued to the points of contact with the floor and walls using adhesive based on C2 concrete.
12. Lay the cut tiles on the surface in the same position. Tile should be attached to the sides with REVERSTECH fl ex adhesive.
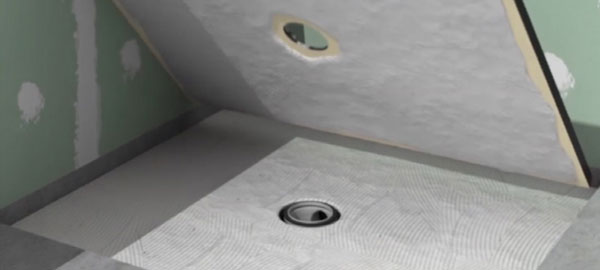
Installation of shower flooring
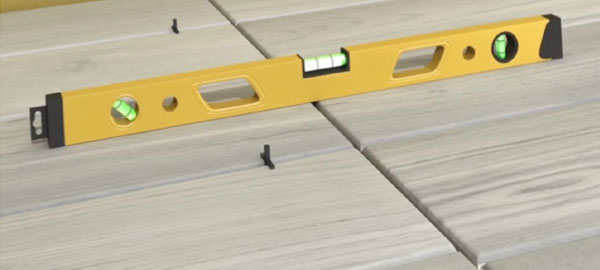
13. The rest of the bathroom flooring must be installed, it must be taken into account that it must be the same height as the surface.
Ensuring installation
14. Pick up the surface tile and check that it is stable in a safe location.
Installation of wall cladding

15. When all the walls in the bathroom are covered with the same tiles, and you do not want to cut all the tiles in the first row to fit the same line, do not place the tiles directly on the shower surface. They should be placed at the same height as the rest of the shower to ensure equal height. To do this, use WALL TRIM between the tiles and the border of the surface, just behind the stops.