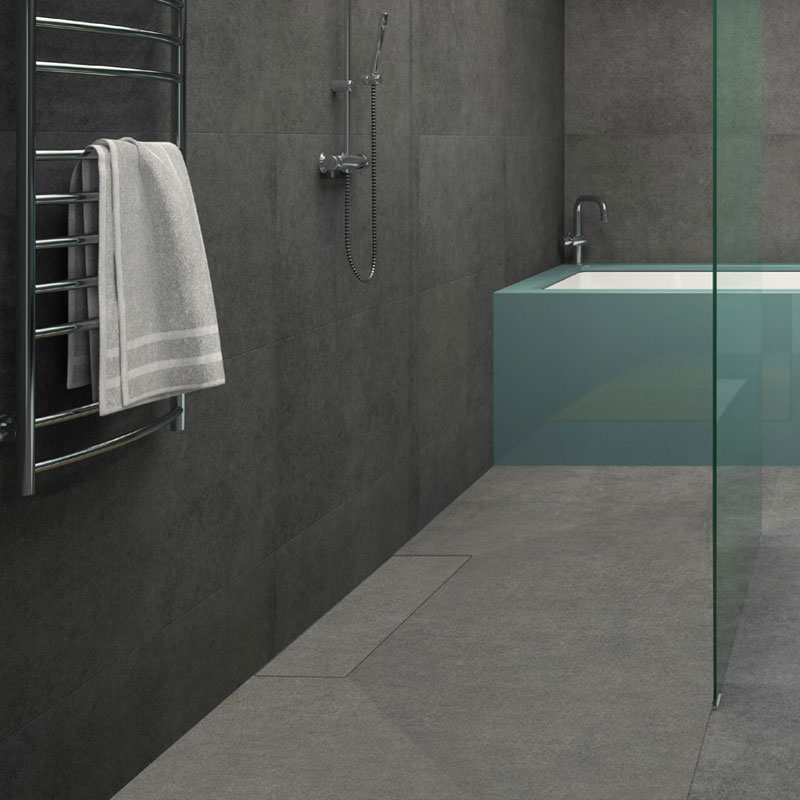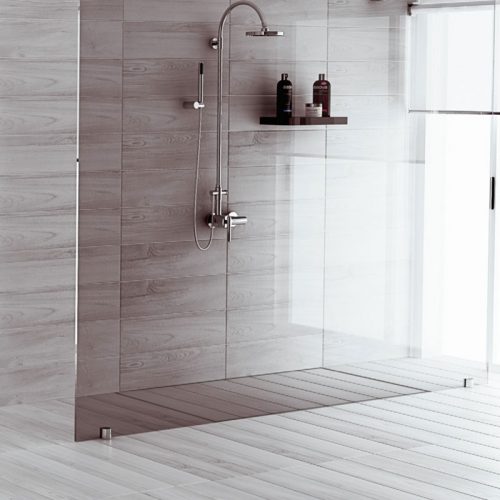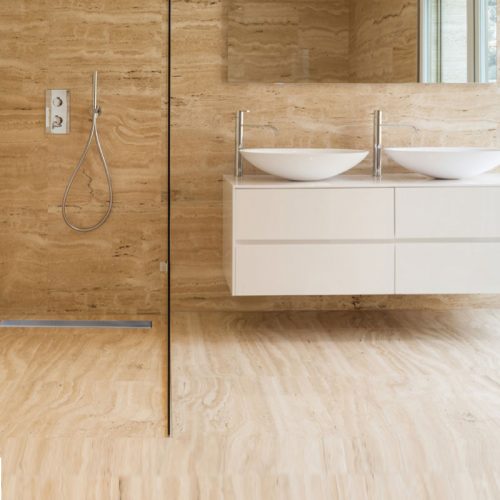
* Minimal and clean
* A breakthrough aesthetic
* Unique design
| SKU | Description | Base dimensions | Spacing for parts |
| TB-11805 | 10X50 linear level | 53.8X13.8 cm | 50X10 cm |
| TB-11806 | 10X60 linear level | 63.8X13.8 cm |
60X10 cm |
| TB-11807 | 10X70 linear level | 73.8X13.8 cm |
70X10 cm |
| TB-11808 | 10X80 linear level | 83.8X13.8 cm |
80X10 cm |
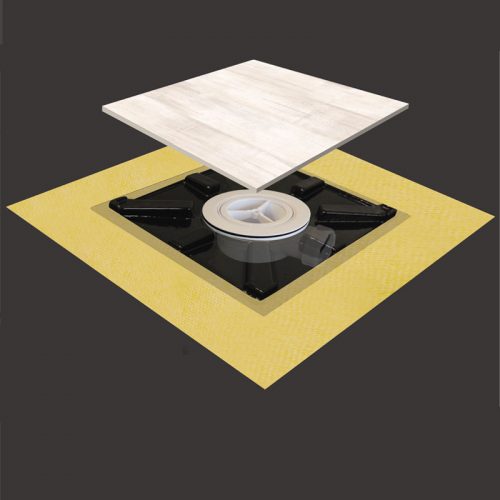
Covert drain with polyurethane rectangular base, horizontal drain deck that can be converted into direct connection
The DRY50 peripheral is affixed to the base of the housing. For showers with 2, 1 and 4 gradients.
Customization on request
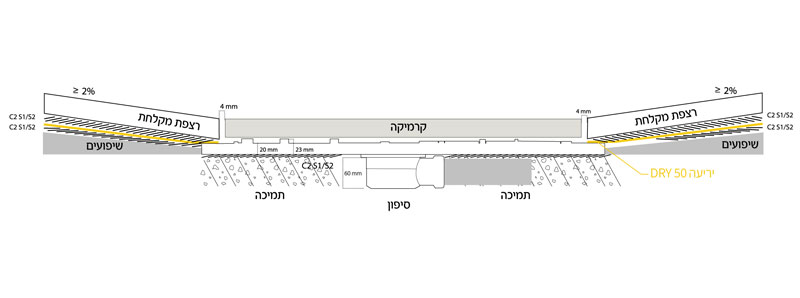
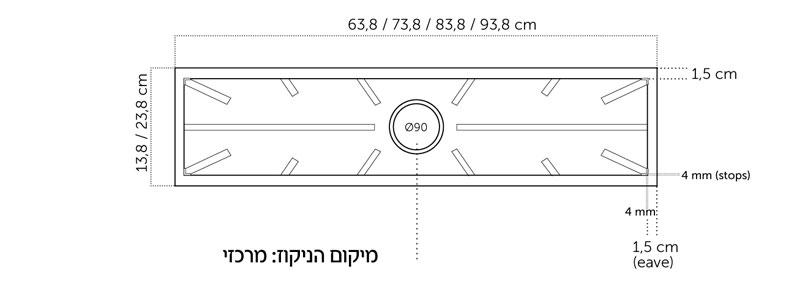
Upper view of the canal base
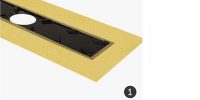 |
1. Canal bracket with DRY5 sealing sheets |
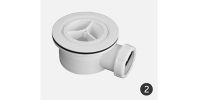 |
2. Deck includes odor filter and hair trap |
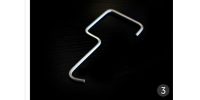 |
3. Key for cleaning |
Direct adapter included in kit
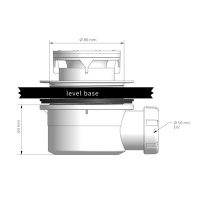
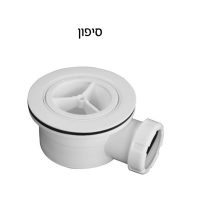
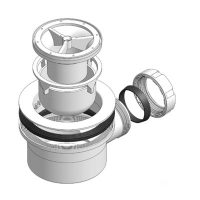
Installation guide
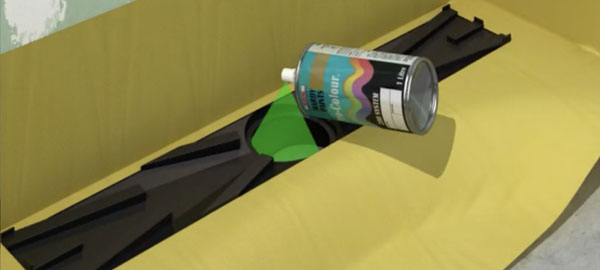
1. Position of the base and accurate marking of the drain.
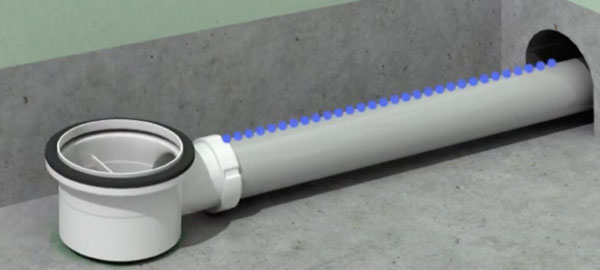
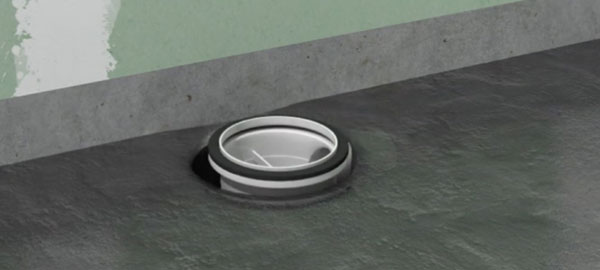
2. Connecting the drain, the pipe should have a gradient greater than or equal to 2%. Make sure the water drains well. The cement base must be filled, note the height measured before and that there is sufficient space suitable for the canal.
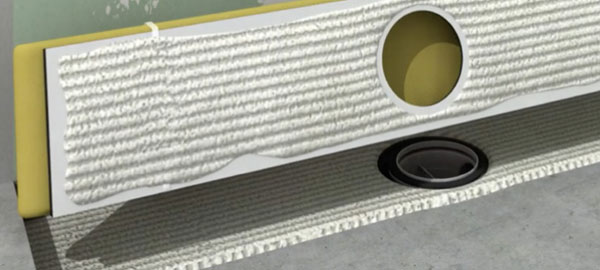
3. When the cement dries, apply a thin layer of S1 / S2 tile adhesive over, as well as the back of the grouted surface (double glue).
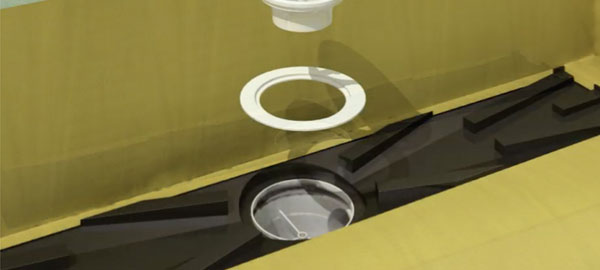
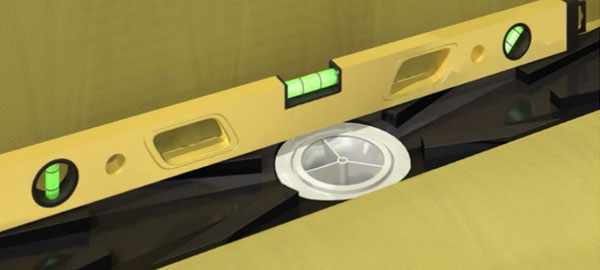
4. Adjust the channel and check that the notched layer is completely straight. The sheet should be folded before the gradients are created.
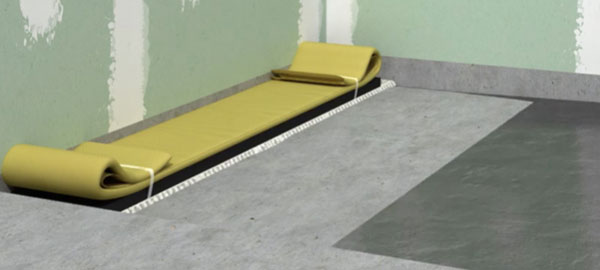
5. Preparing the gradients. The flat part of the bounded layer boundary will determine the starting point.
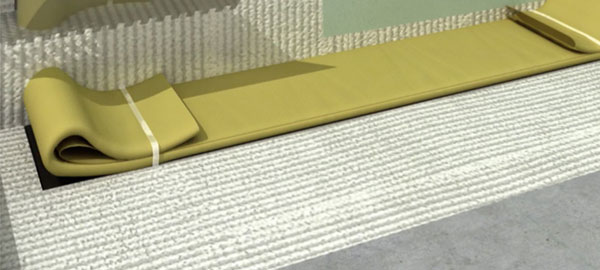
6. Preparing the gradients. The flat part of the bounded layer boundary will determine the starting point.
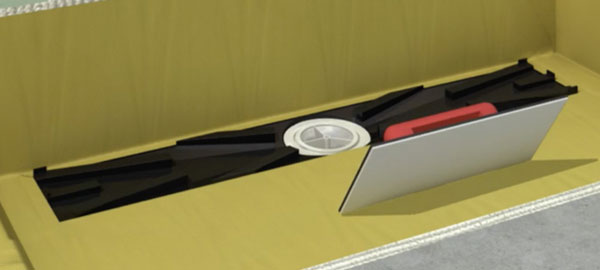
7. Check that the sealing sheet is well tensioned, the air bubbles must be completely removed with the spoon.
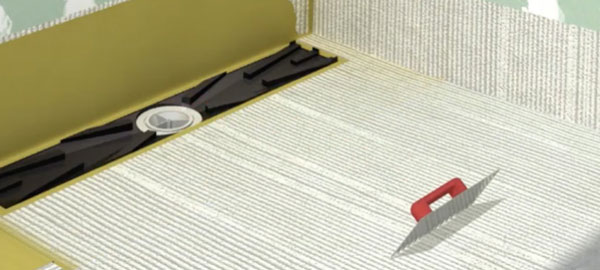
8. Apply ceramic glue.
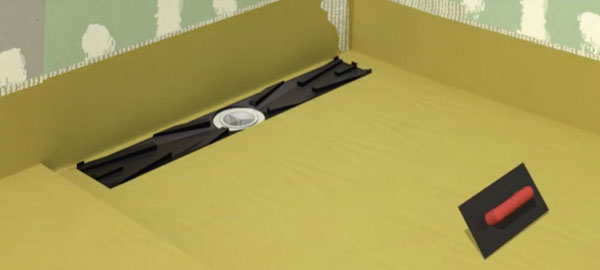
9. Check that the sealing sheet is well stretched and the air bubbles must be completely removed with the spoon.
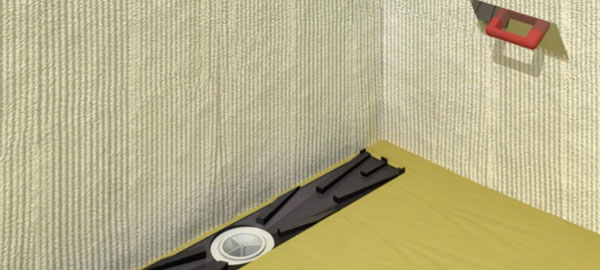
10. We recommend covering the walls with the sealing sheet DRY50 (not included).


